
Introduction
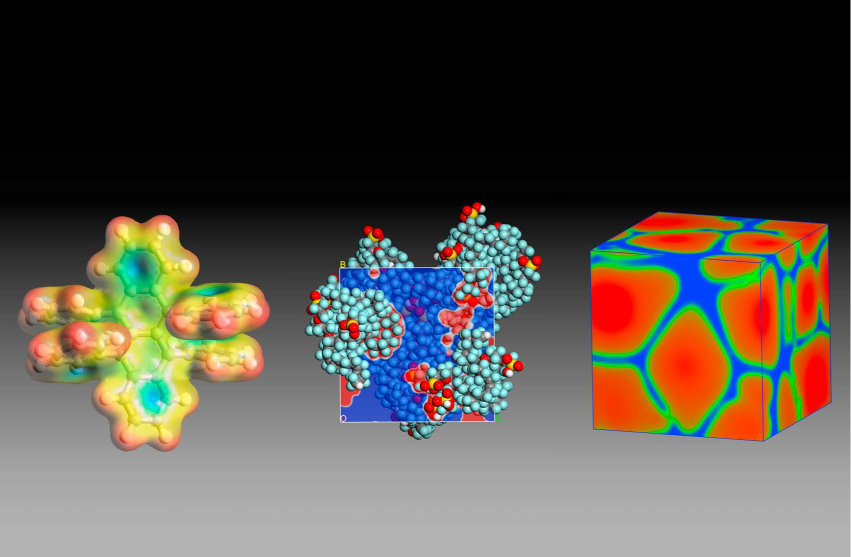
Materials Studio is a comprehensive modeling and simulation platform that empowers researchers in materials science and chemistry to develop innovative materials. By predicting the relationship between a material's atomic and molecular structure and its properties, it facilitates the creation of advanced materials with tailored behaviors. Researchers across a variety of industries—including pharmaceuticals, catalysts, polymers and composites, metals and alloys, batteries and fuel cells, and nanomaterials—use Materials Studio to engineer high-performance materials. The installation guide is crucial for ensuring a seamless setup, providing clear, step-by-step instructions. In this blog, we will walk you through the process of installing Materials Studio, helping you get started quickly and effectively.
Note: This installation guide is for setting up both the Materials Studio client and server on a single machine running the Windows operating system.
Step-by-Step Installation Guide
Download the Installation Media
- Head to software.3ds.com login and follow the below steps to access to navigate to the files.
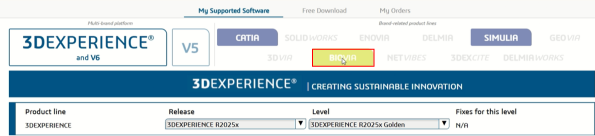
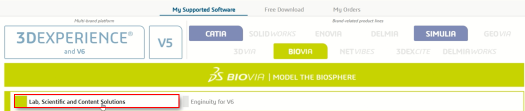
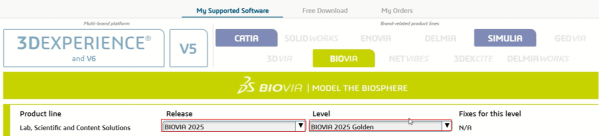
Note: Adjust the release and level to match the license level provided.
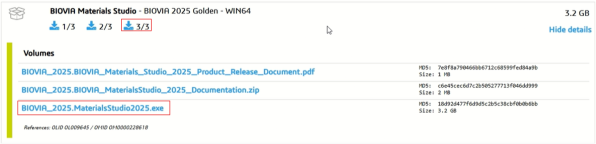
- Download the file BIOVIA_2025.MaterialsStudio2025.exe and extract it.
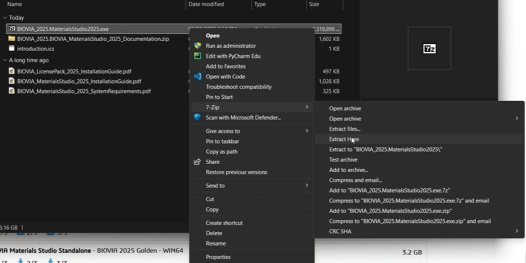
Run the Installer
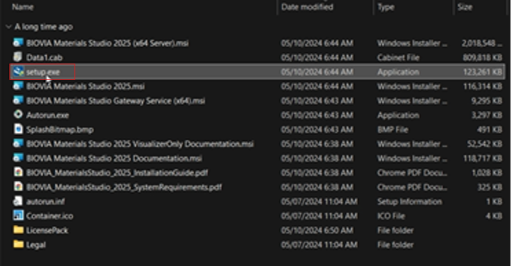
Now that the media files are extracted, navigate to the generated folder “MaterialsStudio2025” and click on setup.exe
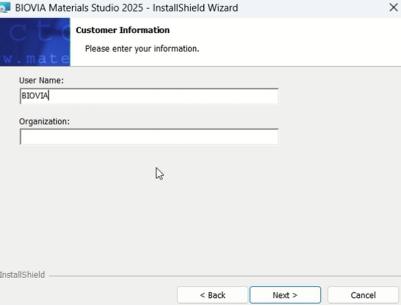
This will open an interactive window that that walks you through the installation steps as follow:
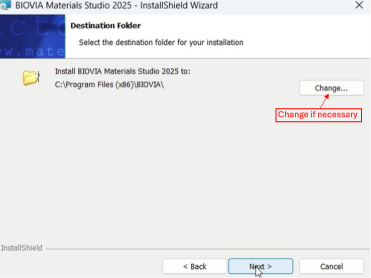
Enter your information, and the desired installation folder, and make sure you have administration rights
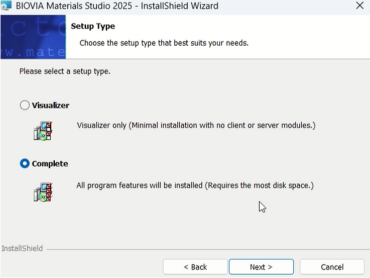
Choose the Complete installation type to be able to install the visualizer as well as the server components
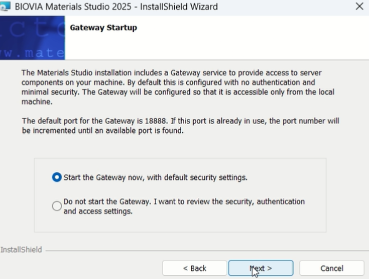
To be able to access the server components, you have to set-up the Gateway as well, and is better to start it with the installation process so choose “Start the Gateway no, with default security settings”
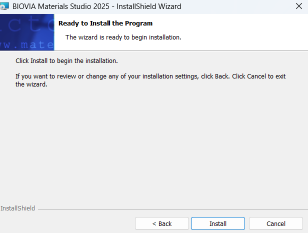
4. Click on Install and start the installation. This might take few long minutes since it will install both Materials Studio (visualizer and server components) as well Materials Studio license manger called License Administrator
Configure the Licensing
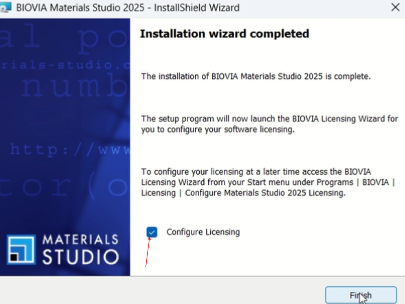
- Once the installation is done, you will be prompted to Configure Licensing, which is necessary to be able to use the installed software
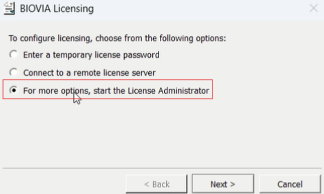
When prompted, you can choose the third option to open the License Administrator and do the configuring.
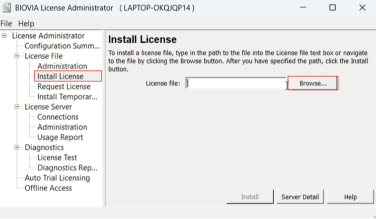
3. This will open the License Administrator, now you can go to Install License and **browse **and **install **the Materials Studio license file.
Note: Make sure that your Materials Studio license file is ready, provided by you IT through a BIOVIA Partner in your local area, or by Dassault Systemes directly.
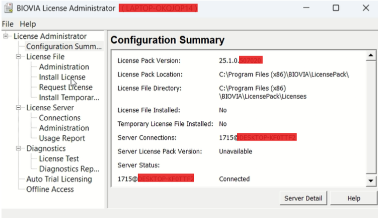
Materials Studio should now be up and running smoothly—get ready to dive into your simulations! If you run into any issues along the way, don't hesitate to reach out to us at support@launchtech.ae
Author

Besma Benzamia
Senior Solution Consultant
Besma is a chemical engineering graduate with a focus on separation processes, materials, and chemical reactions. She is currently working as a senior solutions consultant, focusing on molecular modeling and simulation using Materials Studio and COSMOsuite.